Achieving a flawless, sun-kissed glow on your face without the harmful effects of UV rays is easily attainable with self-tanner. For self-tanning on face, start by cleansing and exfoliating your skin to remove dead skin cells and create a smooth canvas. This prepares your skin for an even application and a beautiful glow.
Apply a light moisturizer to dry areas such as the forehead, nose, and chin to prevent the self-tanner from clinging to these spots. This step is crucial for avoiding patchy areas and ensuring a natural-looking tan.
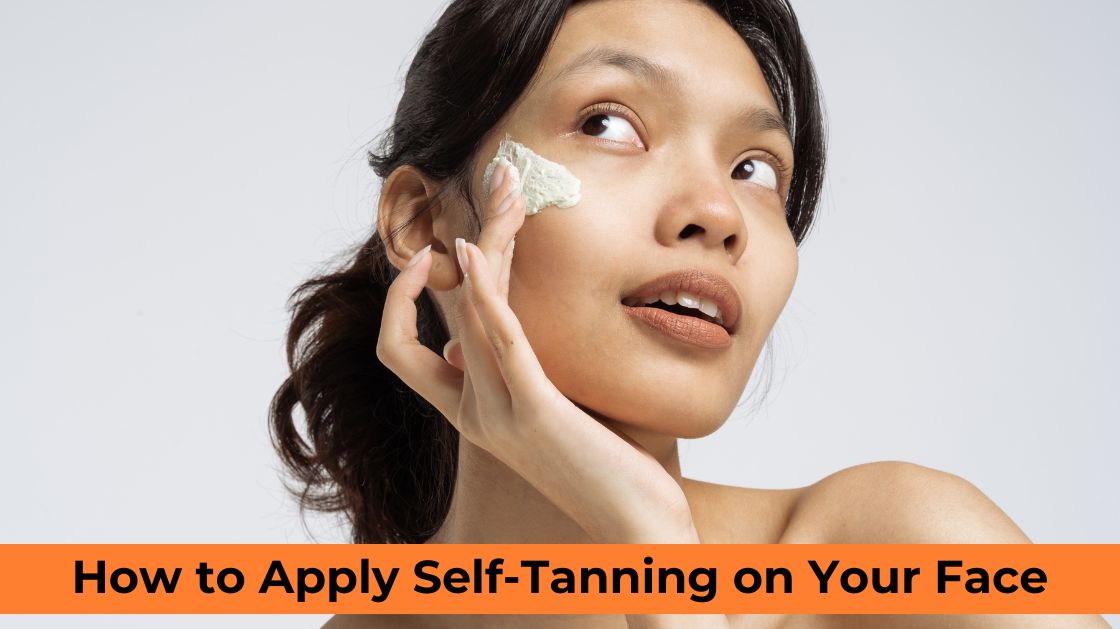
Using a mitt or your hands, apply the self-tanner in circular motions, blending thoroughly into the hairline and jawline to avoid streaks and patches. Remember to wash your hands immediately after application to avoid stained palms. For a more subtle tan, mix a small amount of self-tanner with your daily moisturizer to gradually build color with minimal risk of streaking.
Self-Tanning On Face Like a Pro
For those who crave that sun-kissed glow without the damaging effects of UV exposure, self-tanning on the face has become an essential part of their beauty routine. But precision and expertise are key in self-tanning your face’s delicate skin. Here’s how to achieve a warm, natural-looking tan while keeping your complexion radiant and healthy.
Get Your Skin Ready For Self-Tanning on Face
Preparation for self-tanning on the face is the first step to any successful self-tanning endeavor. Start by thoroughly cleansing your face with a gentle exfoliator to ensure the tanning product doesn’t cling to dry or dead skin cells. Pay special attention to areas that can gather excess dry skin, such as the sides of your nose and eyebrows. After exfoliating, moisturize your face lightly and let the skin absorb the product fully. This will prevent the tan from oxidizing too quickly in these dryer areas, which can leave behind an uneven color.
Grab an Applicator Mitt or Brush
The right tool can distinguish between a streaky mess and an airbrushed finish. Avoid tanning those delicate areas with your hands, as the skin on your face is often more sensitive and absorbs products differently than the skin on your body. Use a soft makeup brush designed specifically for self-tanning the face or an applicator mitt if using a foam or mousse tan. These tools offer better control and provide a more even application, which is crucial for a natural-looking tan.

Begin to Apply the Product
Start by dispensing a small amount of tanning product onto your tool of choice. You can always add more, but removing excess tanner is difficult once applied. Begin at the center of your face and work outward in gentle, circular motions. Focus on blending the product thoroughly into your hairline and along your jaw for a seamless finish. Make sure to apply the product to your neck and décolletage to avoid a jarring contrast between your face and the rest of your body.
Keep Your Skin Dry During Self-Tanning on Face
Once you’ve applied the tanner, resist all temptations to touch your face during self-tanning on your face. Excess moisture, like sweat or humidity, can cause streaks and uneven patches. This means no workouts, saunas, or stepping into hot showers or baths. Keep your skin as dry as possible until the tanner has fully developed. Dab your face gently with a tissue or fan it to speed up the drying process if necessary.
Rinse Off the Tanner
After the appropriate time (as specified by your tanning product, often between two to six hours depending on the brand), gently rinse your face with lukewarm water. Do not use any cleansers or washcloths, as these could strip away the tan after self-tanning on the face. Be careful not to get your face too wet or rub it too vigorously; aim to remove the surface layer of the tanning product.
Wait Eight Hours After Self-tanning on the Face
In the next eight hours, avoid activities that could cause you to sweat or wet your face. This can be challenging, so plan your self-tanning sessions for when you can take it easy. Remember, patience is a virtue when it comes to self-tanning. The full color will continue to develop over this time, and any immediate unevenness from the application will have a chance to settle.
Start Self-Tanner Aftercare
Keep your face moisturized after you’ve rinsed off the tan, but steer clear of any heavy creams or oils. These can break down the tan and cause it to fade more quickly. Opt for a lightweight, oil-free moisturizer. Additionally, using sunscreen daily is imperative to protect the longevity and evenness of your tan. UV rays will fade self-tanner quickly, making your newly bronzed face even more susceptible.
Conclusion
By following these simple steps for self-tanning on your face, you can enjoy the benefits of a radiant tan without the risks of sun exposure. Remember, practice makes perfect. You may not achieve the perfect tan on your first try, but with patience and repetition, you’ll soon master the art of self-tanning your face.


